

How to Paint an Aluminum Boat
Painting your boat isn’t just about colors. A fresh coat of paint can also give your boat an extra layer of protection against the elements (and some of the creatures underwater). We’ve put together this guide to help you learn how to paint an aluminum boat and give you a few tips that’ll help your paint job last as long as possible.
So let’s get started!
Dry Dock Your Boat
You’ll need to pull your aluminum boat out of the water and move it to a large workspace before you do anything. This could be your garage, driveway, front yard, or another area.
Just make sure you’re in a place that can get wet. There are many steps to the painting process, and since several of them involve water, you’ll need to place for it to drain away.
It’s also a good idea to raise your boat off the ground so it’s easier for you to reach the sides and bottom. You can do this with a work table or a few benches.
Remove Old Paint and Other Debris
Never add a fresh coat of paint over an existing paint layer. The end result will look bumpy or worn and it will start peeling or chipping quickly. Removing the old paint will give you a fresh surface, which will make the new paint job look better and last longer.
There are a few ways you can do this.
Sanding
If you have a power sander (or handheld sanding tools for smaller boats), you can run it over the surface of your boat several times to grind off the old paint.
Make sure you’re using 220-grit sandpaper. If most of the paint has already fallen off, you may be able to get by with a higher grit, but trying to use something weaker to remove all the paint will make the job take much longer.
Paint Stripper
You can also get rid of old paint with a paint stripper. All you have to do is coat the paint stripper over the surface of the boat with a paintbrush then cover it in plastic to keep it from drying. It’s a good idea to work in small sections so the stripper doesn’t start to dry before you have a chance to lay the plastic.
Then wait two to four hours for the stripper to interact with the paint.
After this, while the stripper is still wet, use a scraper to scoop off all the paint. It should come off without a lot of effort.
There’s a good chance you’ll need to sand the boat even after all the paint is gone. While the stripper does a good job at removing the paint, it may leave small pieces behind, and it won’t get rid of other dust, dirt, or debris.
What If There Isn’t Any Paint on Your Boat?
You should still spend some time sanding the surface. This will get rid of any rust or other debris it’s picked up while in the water. However, without the paint, this step will be a lot faster and easier.
Give It a Good Cleaning
To get rid of any leftover dust or dirt, use a mild soap and warm water to wash your boat. If you’ve waxed your boat in the past, you should use a dewaxing solvent during this process.
Do you have stains on your boar and worried they’ll show through the paint job?
Light stains probably won’t affect the color of the paint. For darker or larger stains, though, try mixing 50% warm water with 50% distilled vinegar. Spread the solution over the stain, let it sit for a minute or two, and wipe it away.
Give your boat a quick rinse when you’re done then let it dry completely before moving onto the next step.
Polish the Surface
You don’t have to polish your boat before applying a new layer of paint. However, polishing will smooth out the surface, which can help the paint adhere to the aluminum, and it will improve the appearance after the paint dries.
Make sure you use an aluminum-grade polish. Other polishes won’t work on your boat.
Use a power buffer to apply the polish. You can do this by hand, but since it’s a difficult task, it will take a long time. Work in small sections and slowly move your way around the entire boat.
Once you’re done, give your boat a quick inspection to make sure you didn’t miss any spots. If everything looks good, step away from the boat for about 20 minutes while it dries (follow the instructions on the polish’s packaging). Finally, wipe down the surface with a towel.
Layer on a Few Coats of Primer
You’ll need to start by spraying on a layer of primer. Don’t skip this step. Otherwise, the paint will have a hard time “gripping” the aluminum, and it will peel or chip off much sooner than expected.
For best results, use an oil-based, self-etching primer.
Don’t try to cover the entire surface of the boat with your first layer of primer. There will be thin spots and holes, and that’s okay. Let the primer dry for about 10 minutes (again, follow the instructions on the bottle) before adding another coat.
Repeat this process until you have at least three layers of primer on your boat. It should be a thick, full coating.
Picking and Apply the Paint
Now that you’ve finished prepping the surface of your boat, you’re ready to start painting. But that doesn’t mean you should just grab the leftover paint that’s been sitting in your garage.
Choosing the Paint
If you use a good, self-etching primer, you should be able to pick almost any type of paint you want. That said, there are a few things you should consider before choosing the paint. Ingredients
Since you’re painting an aluminum boat, you’ll want to use acrylic or latex paint. Make sure you get exterior-grade paint, and it’s a good idea to buy paint specifically designed for boats.
These paints will often have extra ingredients, such as copper or other anti-fouling components, that’ll prevent muscles, barnacles, and other species from growing on the bottom of your boat. UV Protection
Your boat spends a lot of time in the water, so it’s getting a lot of direct sunlight as well as reflections of the sun’s rays. UV rays can be harmful to your boat, especially the paint, so finding a paint with added UV protection will help it last longer. Color
This is the exciting part.
You can choose any color for your boat. The most popular color is green, but if you want to get more creative or use your favorite shades, don’t hold back. Customizing the color will make the painting process much more enjoyable and you’ll have more fun riding your boat, too.
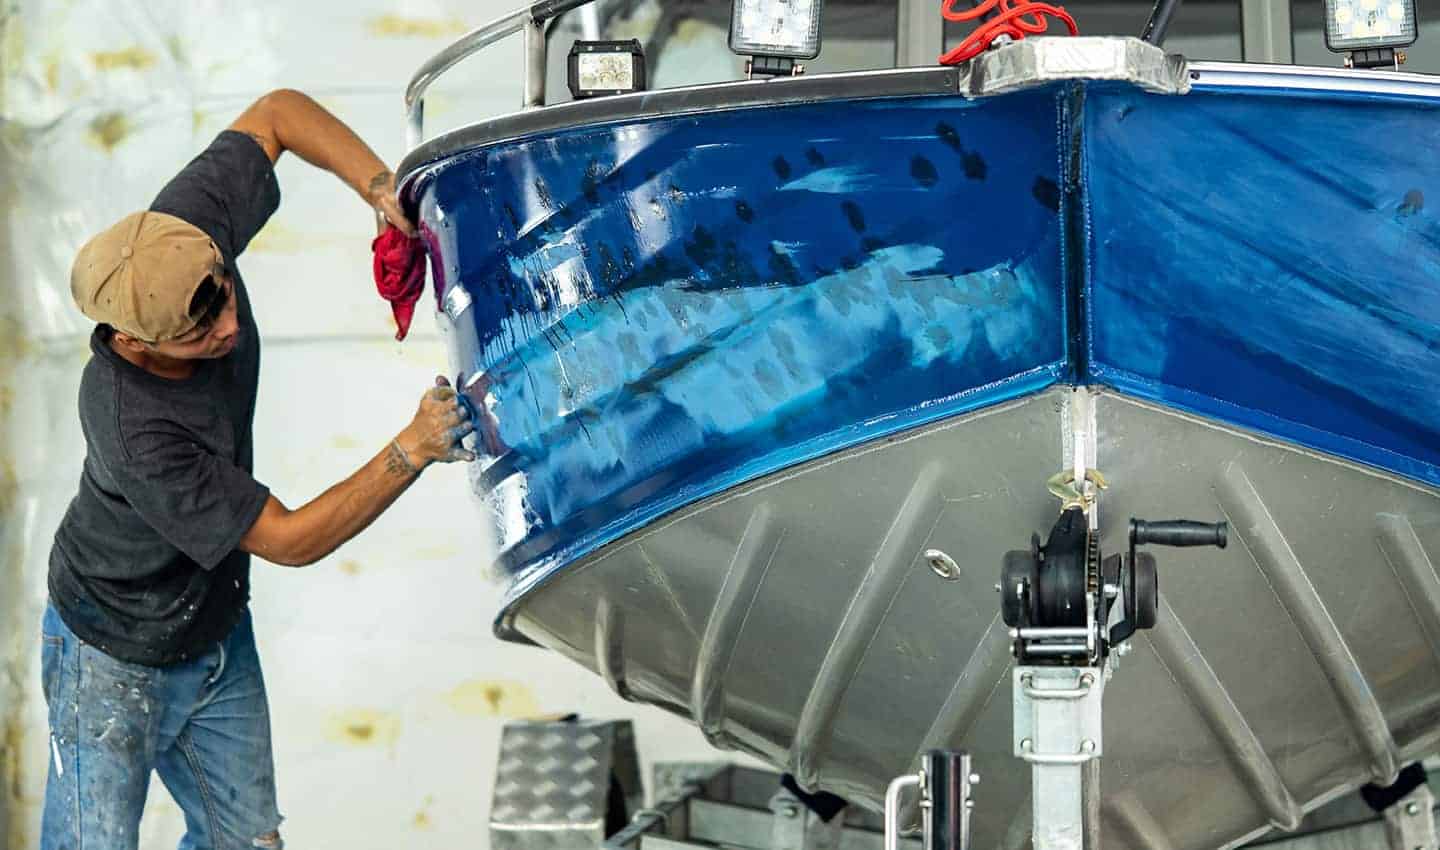
Painting on the Color
Before you apply the paint to your boat, make sure you read the instructions so you know how many layers you’ll need, how long it will take to dry, etc. Then make sure you follow these tips. Think About the Design
Will you be painting your boat one color? Do you want to use different colors in different places? Plan out what you want your boat to look like first.
If you want to use more than one color, you should apply painter’s tape to your boat to get clear, clean lines.
Keep in mind, you don’t have to paint the entire surface. If you like the look of the natural aluminum, you can leave it bare. Paint in Horizontal Strokes
Do your best to use horizontal brush strokes over the entire boat. This will keep the paint job even and give it a smooth finish. Add Another Coat (Or Two)
Let the first layer of paint dry completely before adding a new coat. You may want to repeat this process a few times until you get the coverage you want.
Protect Your New Paint Job With a Clear Coating
Find a clear, boat coating to apply over your paint job. This will help protect the paint from the outside elements, especially since it will come in contact with water (even saltwater in some cases).
How to Paint an Aluminum Boat: Getting Back in the Water as Fast as Possible
If your boat is old and rusted through, learning how to paint an aluminum boat won’t do you much good. If you want to get back out into the water but are worried your boat won’t be able to handle it, that may be a sign it’s time to buy a new one.
Not sure where to look?
Make sure you check out this guide to learn how to buy a new one! We can help you find the perfect aluminum boat for your water adventures!

This article may contain affiliate links which I earn a commision through when you purchase. As an Amazon Associate I earn from qualifying purchases.
Please read why I do this and my commitment to accurate and compelling content.